Kitronik
Kitronik Autonomous Robotics Platform (Buggy) for Raspberry Pi Pico
Kitronik Autonomous Robotics Platform (Buggy) for Raspberry Pi Pico
Couldn't load pickup availability


The Kitronik Autonomous Robotics Platform Pico, a fun and hands-on introduction to Robotics with the Raspberry Pi Pico.
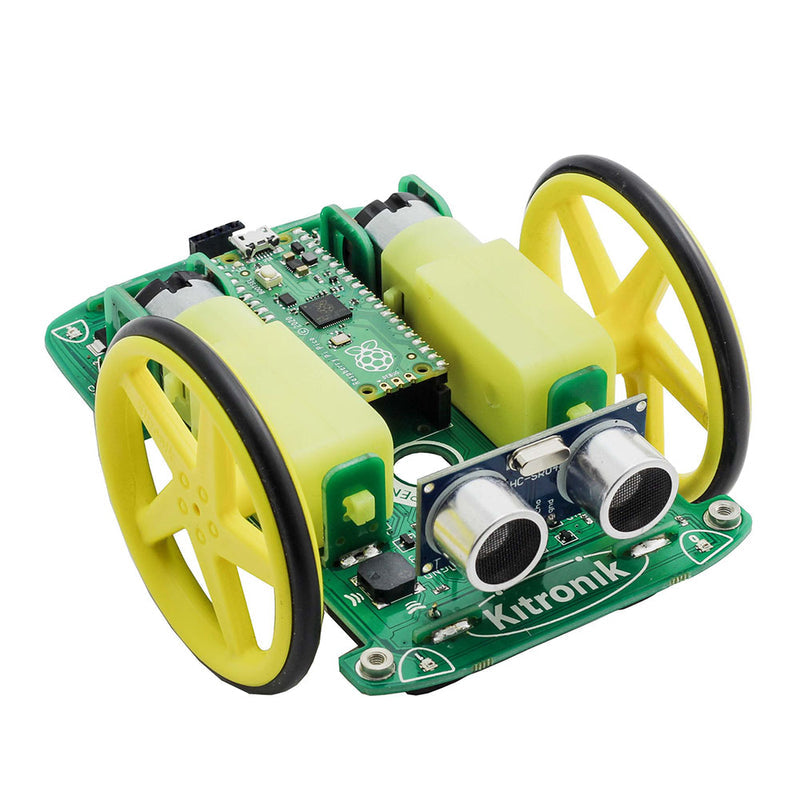
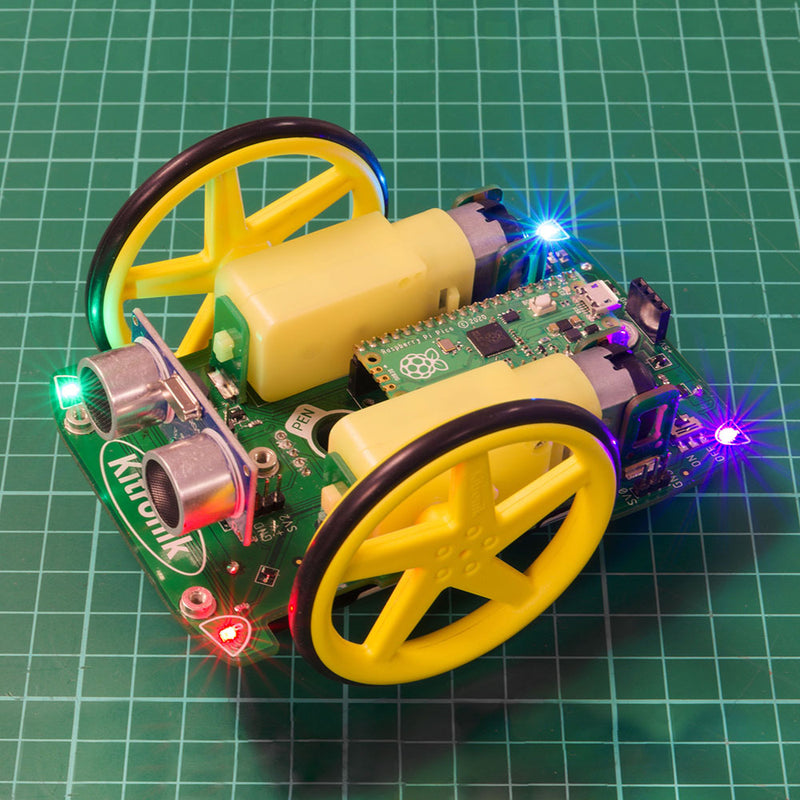
The Kitronik Autonomous Robotics Platform for Raspberry Pi Pico is a fun and hands-on introduction to buggy robotics. The easy to follow booklet provided with the kit guides you through all of the steps required for you to take control of your robot. The Robotics Platform has been designed to grow with you and provided additional servo and ultrasonic sensor connectors for more advanced projects. This buggy requires a Raspberry Pi Pico with pin headers attached, you can obtain a Raspberry Pi Pico with headers attached here.
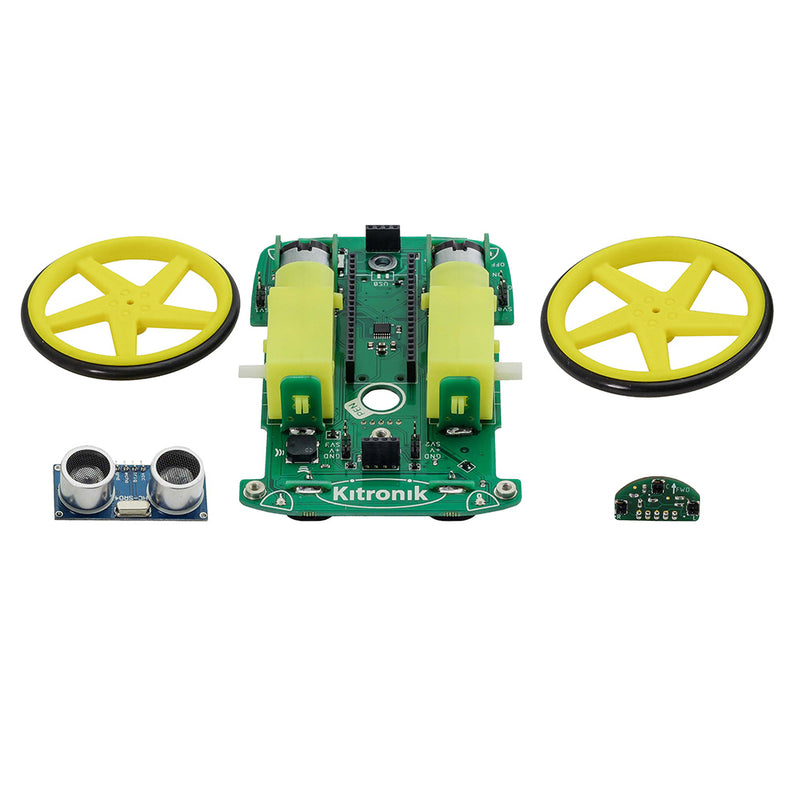
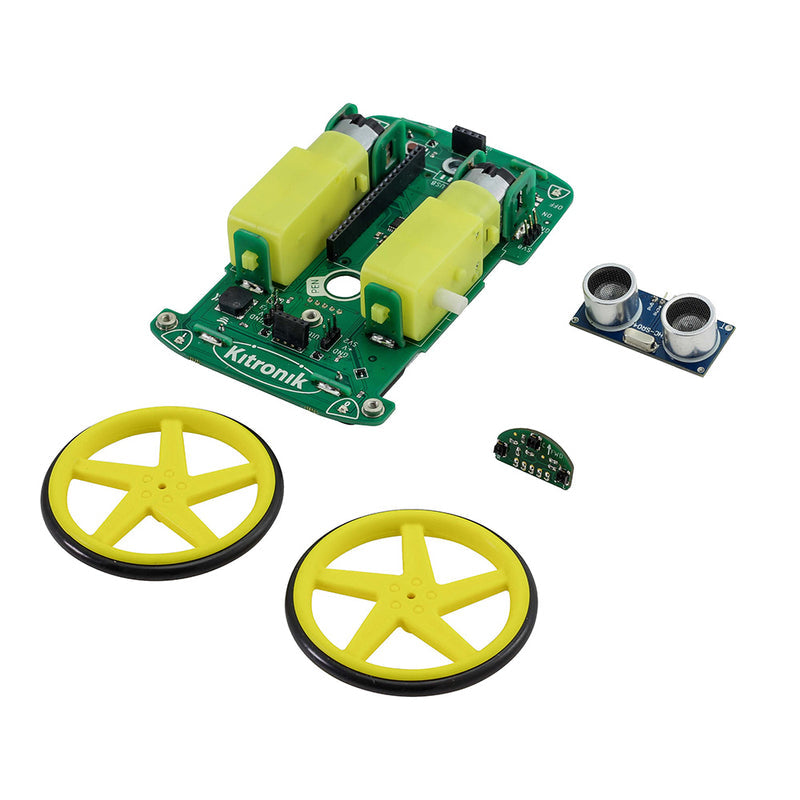
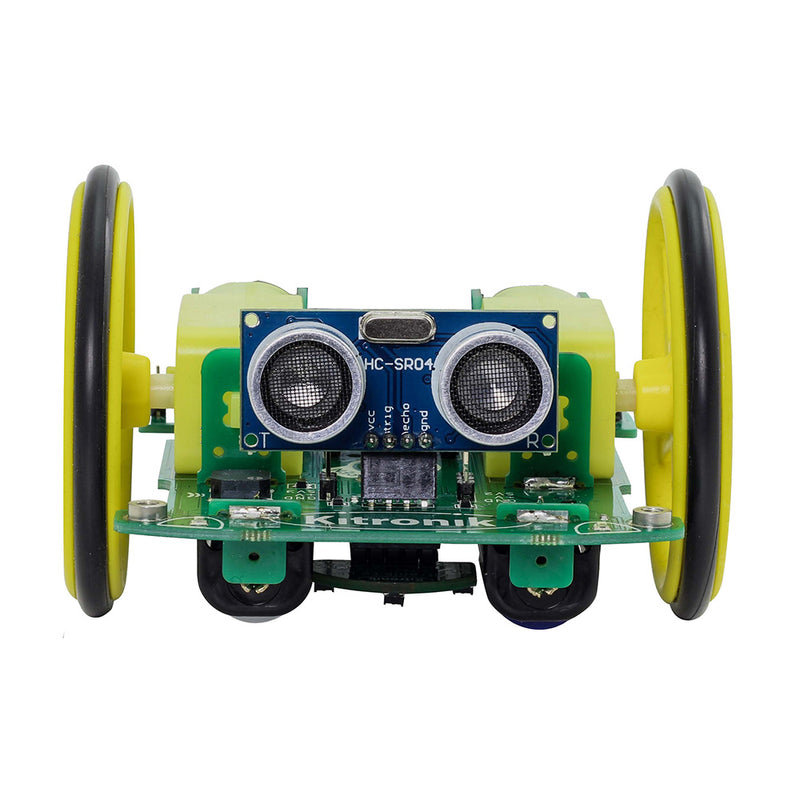
The kit is supplied with the autonomous robotics platform chassis, 2 wheels and tyres, a Kitronik line-following sensor board, and an ultrasonic sensor. The kit requires no soldering and only minimal mechanical assembly. Fit the tyres to the wheels, push the wheels onto the pre-mounted motors and both the line following sensor and ultrasonic distance sensor plug straight into the board. Once put together, push the Raspberry Pi Pico into the onboard connector, add 4 x Alkaline AA batteries to the battery holders underneath and you are done. Your robot buggy is ready for instruction.
The included booklet guides you through every step of getting to know your robot. It contains a detailed assembly guide, info on preparing the Raspberry Pi Pico, instructions for installing an editor (Thonny), and instructions on how to write code for every feature of the Robotics Platform. No corner of the board is left unexplained.
As well as the easy-to-follow getting started guide, we have also produced online tutorials which go into more detail on coding the key features of the board. The links to the tutorials can be found in the resources section at the foot of this page.
For those that like to modify their robot buggies, the buggy has 4 x threaded mounting points added to the chassis, 3 x M3 & 1 x M4. These mechanical fixing locations enable the addition of user-designed features, such as cosmetic chassis parts and/or additional robotic features, such as appendages. We have produced a dxf file showing the location and thread size of each of these mechanical fixing locations, it can be downloaded in the resources section below. The zip file also contains a jpg for those that don't have access to CAD or viewing software.
To help make programming the robot as simple as possible, Kitronik has developed a set of Micropython modules, which can be found here. More information on this can be found in the booklet supplied with the kit. If you aren't familiar with GIT, we've created an online beginners' guide to help you get up to speed. You can find the guide here (https://kitronik.co.uk/GitGuide).

Features:
- A fun and hands-on introduction to buggy robotics.
- The Robotics Platform has been designed to grow with you, start small then add complexity later.
- The kit ships with a detailed guide booklet backed up with freely available online tutorials.
- The autonomous robotics platform introduces the user to light, movement, and sensing so the robot can be as hands-on or hands-off as want it to be.
- Program your buggy to react to the world around it.
- Learn to code with MicroPython, using our simple-to-follow guides and the beginner-friendly Thonny editor.
- Just add the Raspberry Pi Pico, some alkaline batteries, and some code and watch your buggy come to life!
- This buggy is not supplied with a Pico, you can obtain a Raspberry Pi Pico here.
- It also features 4 x threaded mounting points added to the chassis, 3 x M3 & 1 x M4.
Contents:
- 1 x Autonomous robotics buggy chassis PCB.
- 2 x Kitronik 5 spoke wheels and tyres.
- 1 x Kitronik line following sensor board.
- 1 x Ultrasonic Sensor.
Dimensions:
- PCB Length: 126mm.
- PCB Width: 80mm.
- Wheel Diameter (with tire): 67.5mm.
Video:
Requires: